Isn't it funny how innate it is for little girls to play mommy? I love watching Chloe be sweet and loving to her babies (all 8324 of them). While helping her go through her toys the other day for our monthly "Let's get rid of anything you don't play with!", I noticed her baby pack-n-play was ripping at the bottom. It wasn't too surprising, considering the material used to make it, is the same thin material most princess costumes are made of. (and we all know how easily those rip or fray or snag!)
My first thought was to sew up the hole real quick and move on. But the more I sewed, the more it ripped. 2 hours later, someone had a completely "new" baby bed. (It's most definitely not perfect, and when I was taking the frame apart and putting it back together, I tweaked the levelness of it somehow... but it holds babies, the fabric is cute, and Chloe loves it)

sewing machine (hand sewing would take forever, but you could)
scissors
fabric for the sides ( 11" x 36" )
fabric for the bottom ( 12" x 21")
thread to match
coordinating ribbon

- Begin by cutting your pieces. I struggled with the decision to cut panels, or use one long piece of fabric. I decided it would be easier to manage with panels. (each measurement allows for a 1/4" seam)
- 2 side panels measuring 11x14"
- 2 side panels measuring 11x22"
- 1 bottom panel measuring 11x21"
- Sew these all together with a 1/4" seam. (I hate 1/4" seam, but it allows for the least amount of fabric waste.
- *Don't forget* Iron your seams for a sharp edge.

- Now that you have one long piece of fabric, measure the allowance for your bed leg. Mine was 1 1/2". (put your pins in to hold it, then check with the leg before sewing)
- *Tip* Use a rubberband to mark your seam allowance to keep your sewing straight!


- Attaching the bottom seemed intimating at first, but just take it one side at a time. I started with a longer side to get it out of the way.
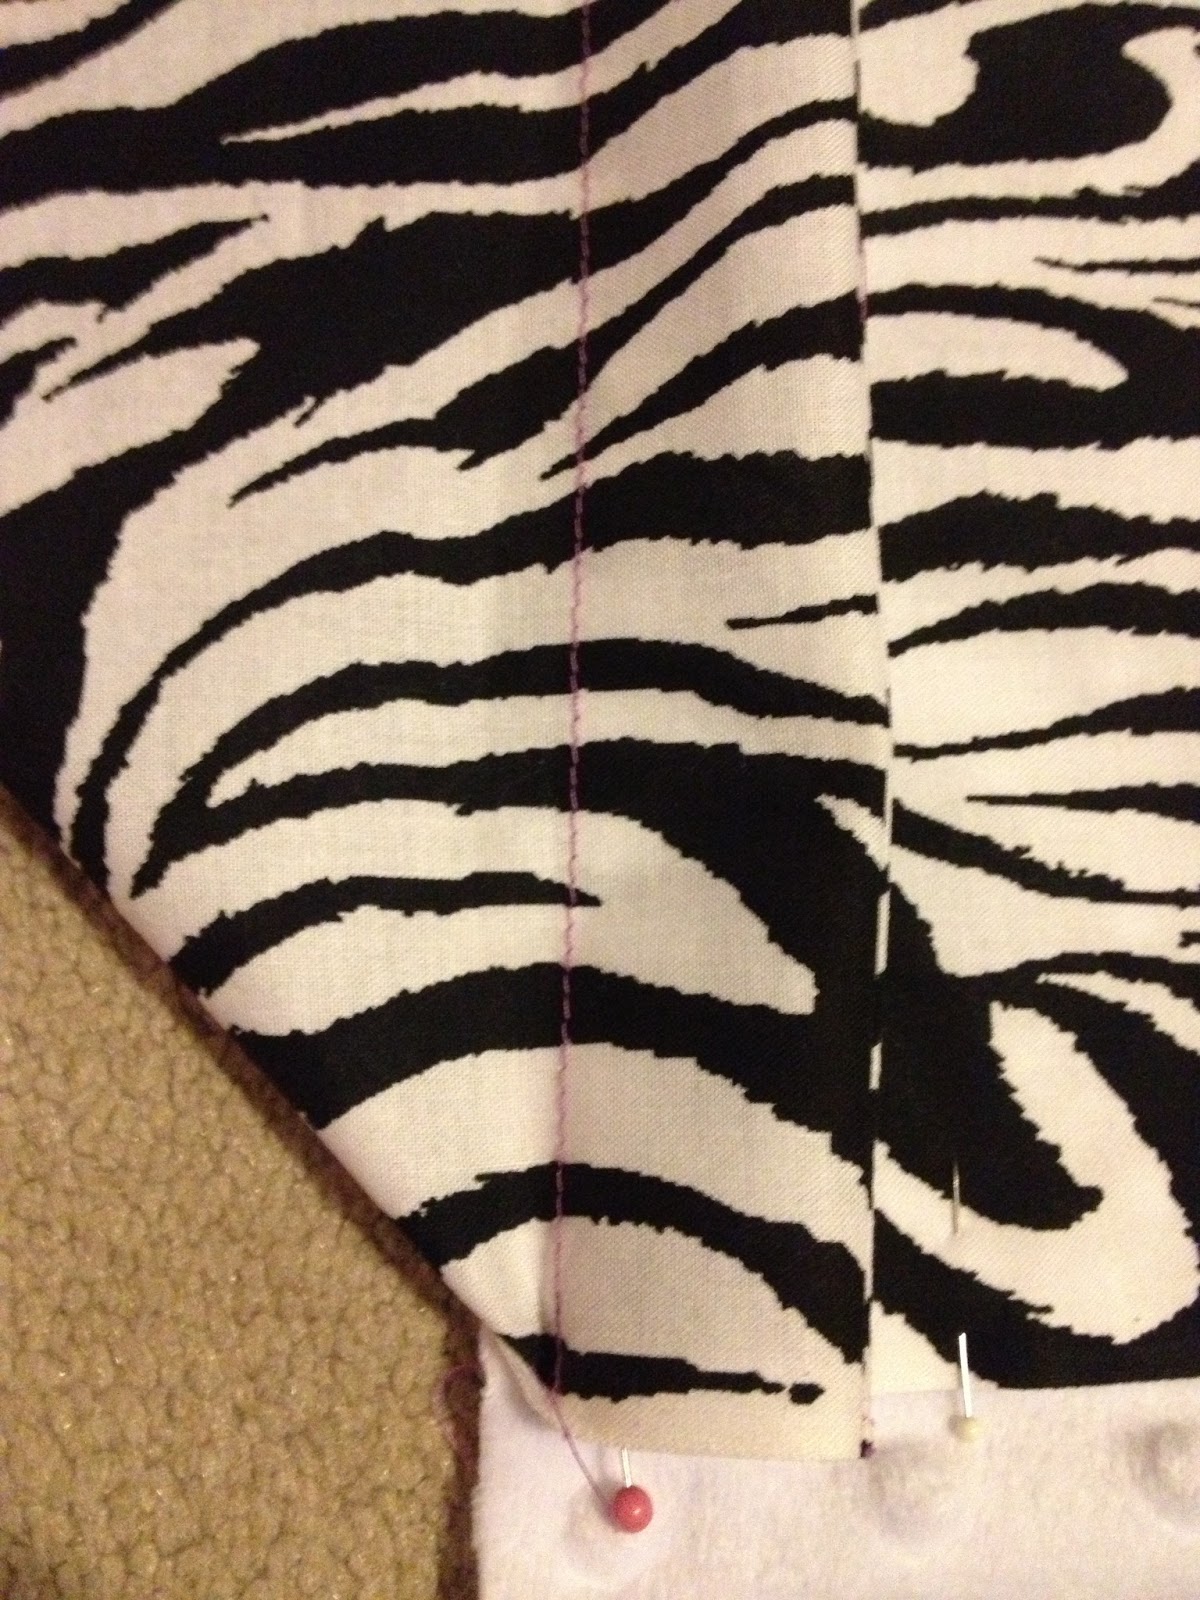
- *Tip* When sewing with Minky fabric, pin every inch. The fabric stretches as it runs through your machine and will bunch up if you are stingy with your pins.

- As you begin to sew around the bottom, think of the extra material as wrapping paper. Fold it as you would if it were a present to keep it out of the way.
- Attach your bottom to the "wrong" side of the fabric so when you look into the bed, you see the "right" side of the fabric at the bottom.
- DO NOT sew the "pocket" for your bed leg. I used a larger pin to remind myself when to STOP before closing the "pocket".

- After attaching the bottom, fit your creation (what would you call this thing?) onto your baby bed to make sure all is well.

- Cut 10 pieces of ribbon and sear the edges with a lighter to keep them from fraying. Line them up evenly along the top (over the rail) and attach with pins. Hand sew or machine sew on.

- Ta Da! High five to you and be happy with the cute (more kid resistant) baby bed!

Bloopers - Almost every time I do a sewing project, I have at least 1 oops of sewing the fabric together wrong. I had 3 this time. Lesson learned, don't do this with "helpers" or past my bedtime.


XO!
No comments:
Post a Comment
I'd love to hear what you have to say... leave a comment to spread the love.